Pumpkin Cheesecake Truffles: The No-Bake Fall Treat Everyone Will Be Obsessed With
Fall desserts are a vibe—and these Pumpkin Cheesecake Truffles? Total showstoppers. They’re creamy, spiced just right, and dressed up like mini pumpkins. Whether you’re hosting a Halloween bash, Friendsgiving, or just want something sweet while watching the leaves drop, this one’s a keeper.
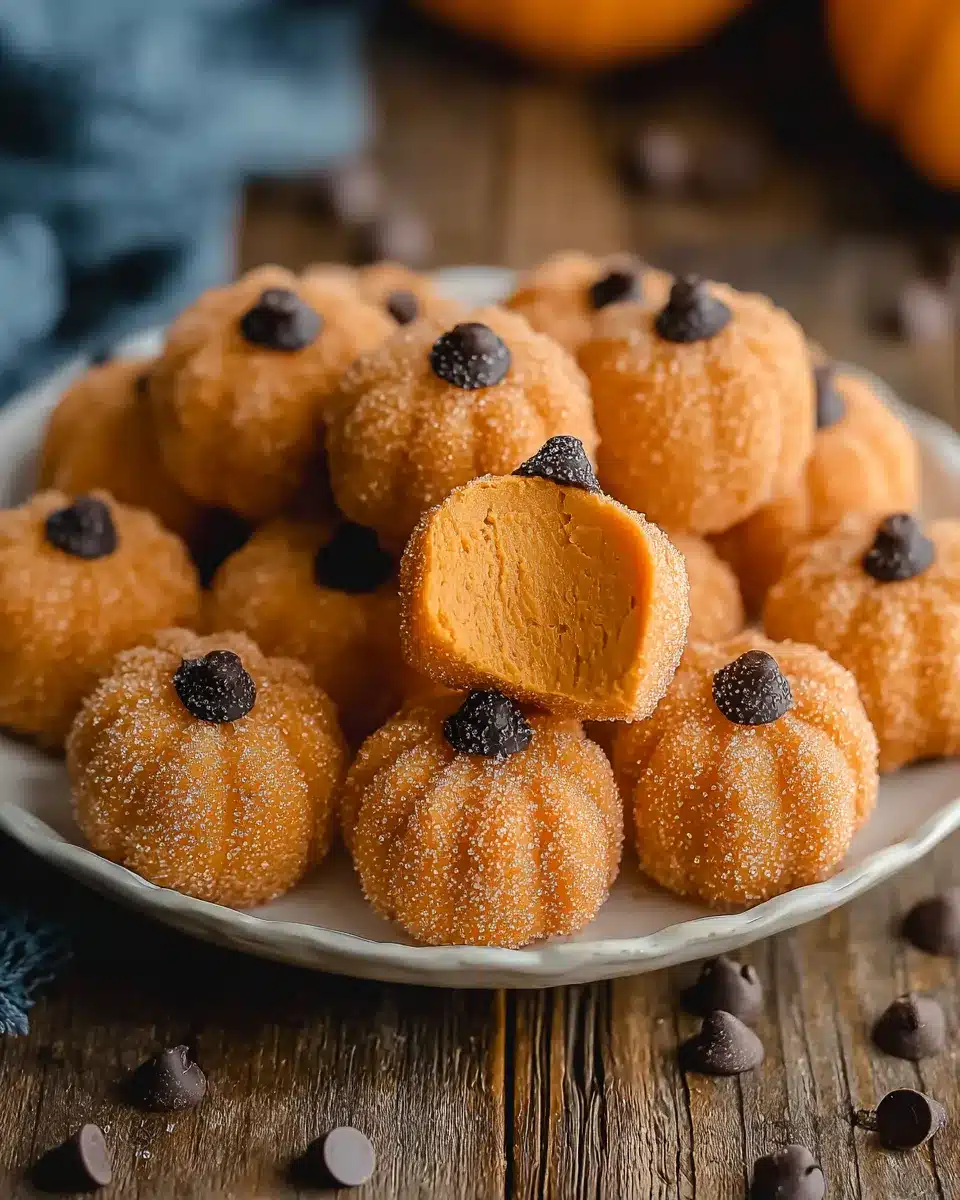
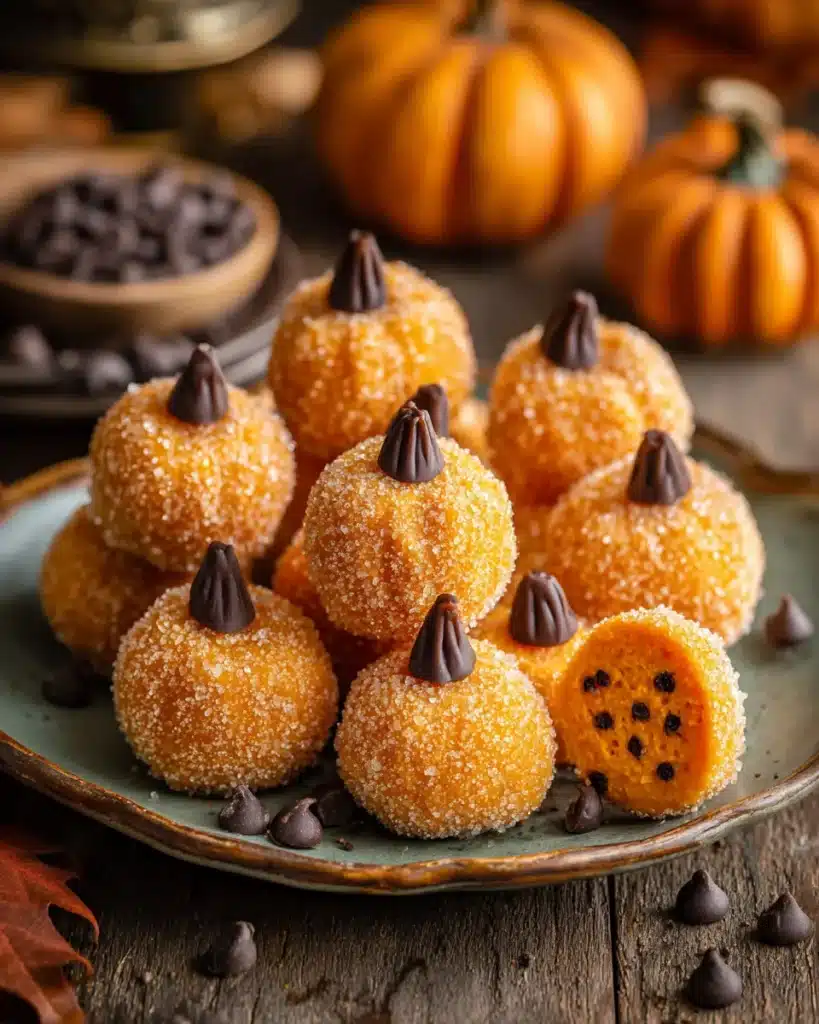
We’re talking a rich pumpkin cheesecake filling, rolled in sugar for crunch, topped with a chocolate chip “stem,” and best of all—no oven required. These are fall, wrapped in a bite.
Table of Contents
Ingredients for Pumpkin Cheesecake Truffles
Semi-sweet or milk chocolate chips (for the truffle “stems”)
2 tablespoons unsalted butter (plus extra for greasing the baking sheet and your hands)
8 oz (1 block) cream cheese, softened
1/2 cup pumpkin purée (make sure it’s 100% pure pumpkin, not pumpkin pie filling)
1/2 cup sweetened condensed milk
1 teaspoon pumpkin pie spice (adjust to taste)
1 cup graham cracker crumbs
1/2 cup white chocolate chips
Optional: orange food coloring (a few drops for pumpkin color)
Granulated sugar (for rolling the truffles)
How to Make Pumpkin Cheesecake Truffles (Step-by-Step)
This is the foundation—get it right, and the rest is smooth rolling. Here’s exactly how to do it:
Step 1: Heat Your Skillet
Start by placing a nonstick skillet over medium heat. Let it warm up while you gather your ingredients. A warm pan ensures even melting and prevents scorching.
Chef tip: Avoid high heat—it’ll burn the dairy. Medium is your friend here.
Step 2: Add the Base Ingredients
Into the pan, add:
- 2 tablespoons butter – Melt this first to coat the pan.
- 1 block (8 oz) cream cheese – Room temperature is key; it’ll melt faster and smoother.
- 1/2 cup pumpkin purée – Make sure it’s pure pumpkin, not pumpkin pie filling. You want to control the spices.
- 1/2 cup sweetened condensed milk – This brings the sweetness and creamy texture.
- 1 teaspoon pumpkin pie spice – Or more, if you’re the “extra spice” type.
Let these ingredients hang out in the pan for a few seconds, then start stirring.
Step 3: Stir and Melt Until Smooth
Use a wooden spoon or heatproof spatula to stir constantly. You want everything to combine into one smooth, thick mixture.
Most people mess this up by stopping too early. Keep going until it looks like thick cake batter—shiny and uniform.
Step 4: Thicken the Mixture
As you stir, the filling will thicken and pull away slightly from the sides of the pan. That’s your cue.
Chef’s insight: This thickening isn’t just about texture—it’s crucial so the truffles hold their shape later. Too loose? You’ll be chasing puddles, not rolling balls.
Step 5: Remove from Heat and Cool Slightly
Once thickened and lump-free, remove the pan from heat. Let the mixture sit for 5–10 minutes before the next step. This allows the flavors to settle and prevents white chocolate from seizing in the next stage.
Add Graham Crackers and White Chocolate
Turn off the heat, and while the mixture is still warm:
- Stir in graham cracker crumbs. They thicken the mix and add that subtle crust flavor.
- Add white chocolate chips. They’ll soften and swirl into the mix. That’s what you want.
If you’re going for a bright orange truffle, add a few drops of orange food coloring now and stir it in.
Chef insight: The food coloring doesn’t affect flavor—it just makes them pop on the table. Totally up to you.
Cool the Mixture
Now transfer the warm filling onto a buttered baking sheet. Spread it out so it cools faster and evenly.
Slide it into the fridge for at least 2 hours. Overnight? Even better.
Don’t skip this. Warm filling = messy truffles. You want firm and moldable.
Roll the Truffles
Once the mixture is cold and firm, it’s go-time.
- Butter your hands. Seriously. No sticking, no mess.
- Scoop and roll into golf ball-sized truffles. Don’t overthink the size—just keep them consistent.
Frank’s note: If it’s too soft, back into the fridge it goes. Don’t force it.
Coat the Truffles
Pour granulated sugar into a shallow dish. One by one, roll your truffles in it until they’re fully coated.
That sugar adds a little crunch, a little sparkle, and seals in the flavor.
How to Serve Pumpkin Cheesecake Truffles Like a Pro
Once decorated, your Pumpkin Cheesecake Truffles are ready to go.
You can serve them immediately at room temperature for a softer, creamier texture, or chill them in the fridge for at least 30 minutes to firm them up. Chilled truffles not only hold their shape better on a dessert table, but the flavors also deepen and meld beautifully.
Chef tip: If you’re making them ahead of time, store them in an airtight container with parchment between layers. They’ll stay fresh for up to 4 days in the fridge.
For a polished look when entertaining, nest each truffle in a mini cupcake liner. It keeps fingers clean, adds structure, and makes your dessert table look like a professional bakery setup—effortless upgrade.
More Pumpkin Dessert Ideas You’ll Love
If you’re into cozy fall treats like these Pumpkin Cheesecake Truffles, you’ll definitely want to try a few of these too:
- Craving something baked and spiced? Check out this moist and flavorful Pumpkin Spice Cake with Cream Cheese Frosting.
- For a soft, chewy bite that’s still full of fall flavor, these Pumpkin Snickerdoodle Cookies are a reader favorite.
- Prefer something just as easy and crowd-pleasing as truffles? This Pumpkin Crisp is a no-fuss winner.
- Need a gluten-free option? These Pumpkin Squares check all the boxes without compromising taste.
- Looking for a healthier treat that still hits the seasonal spot? Try these Pumpkin Oatmeal Bars.
Why You’ll Love These Pumpkin Cheesecake Truffles
| Benefit | Why It Matters |
| No-Bake Recipe | Perfect for busy days or when your oven is full during holiday meal prep. |
| Easy Ingredients | Uses pantry staples—no specialty shopping required. |
| Festive Presentation | Shaped like mini pumpkins, they’re a hit at Halloween, Thanksgiving, or potlucks. |
| Make-Ahead Friendly | Store in the fridge for days—flavor actually improves over time. |
| Kid-Friendly & Crowd-Pleasing | Fun to make, fun to eat, and loved by all ages. |
FAQ About Pumpkin Cheesecake Truffles
Can I make these ahead of time?
Definitely. They hold well in the fridge for 3–4 days. The flavor even improves.
Can I freeze them?
Yep! Just let them thaw in the fridge. Best texture comes back after a slow chill.
Do I really need food coloring?
Nope. They’ll taste the same. The color just makes them look like, well, pumpkins.
What if I don’t have graham cracker crumbs?
Crush some graham crackers yourself. Or swap in vanilla wafers or gingersnaps for a twist.
Conclusion + Call to Action
These Pumpkin Cheesecake Truffles are everything you want in a fall dessert—easy, festive, and ridiculously good. They don’t just look the part; they taste like fall in every bite.
Make them for your next get-together, hand them out at Halloween, or just stash a few in the fridge for yourself. (No shame.)
Give them a try—and if they become your new fall go-to, send me a pic. I want to see your mini pumpkin masterpieces.
And hey—don’t forget to visit my Pinterest page for more cozy, crowd-pleasing recipes just like this one. Let’s make your fall table unforgettable.
PrintPumpkin Cheesecake Truffles: The No-Bake Fall Treat Everyone Will Be Obsessed With

- Prep Time: 25 minutes
- Cook Time: 10 minutes
- Total Time: 2 hours 35 minutes (includes chilling)
- Yield: 18–20 truffles
- Category: Dessert
- Method: No-Bake
- Cuisine: American
- Diet: Vegetarian
Nutrition
- Serving Size: 1 truffle
- Calories: 130
- Sugar: 10g
- Sodium: 55mg
- Fat: 7g
- Saturated Fat: 4g
- Unsaturated Fat: 2g
- Trans Fat: 0g
- Carbohydrates: 14g
- Fiber: 0g
- Protein: 2g
- Cholesterol: 15mg
Keywords: pumpkin, cheesecake, truffles, no-bake, fall, halloween, thanksgiving