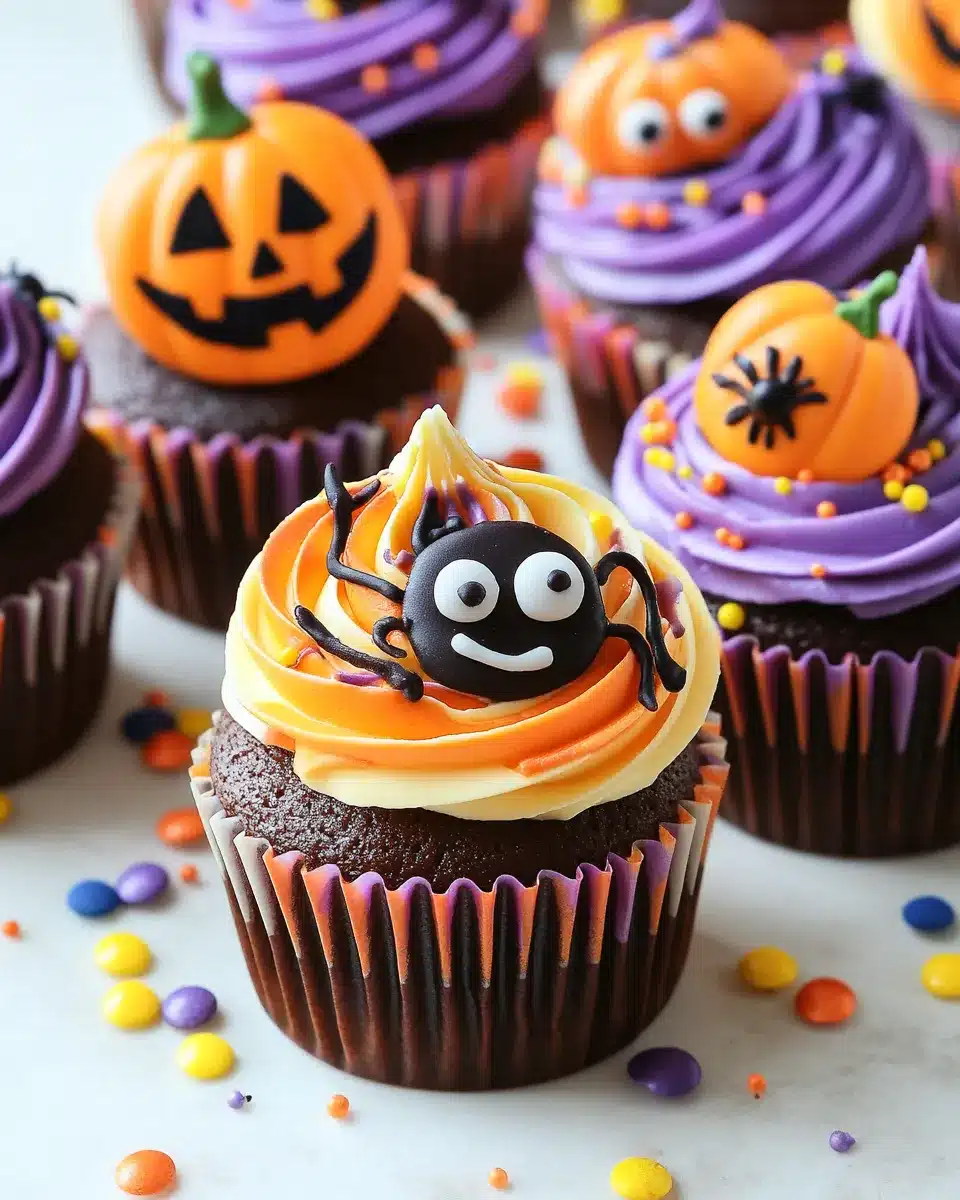
Halloween Cupcakes Ideas: Spooky, Sweet, and Seriously Fun to Make
Halloween was always my favorite holiday—not just for the costumes or candy, but because it meant my mom would bust out her crazy cupcake creations. Ghosts with marshmallow heads. Frankenstein faces with candy bolts. One time she even made “bloody” raspberry-filled brains. Those memories are why I love Halloween cupcakes so much: they’re fun, festive, and packed with personality.
Whether you’re planning a monster bash or just want to surprise the kids after school, these Halloween cupcakes ideas will bring the spooky spirit right into your kitchen. Let’s bake.
Table of Contents
Why You’ll Love These Halloween Cupcakes
Easy Customization
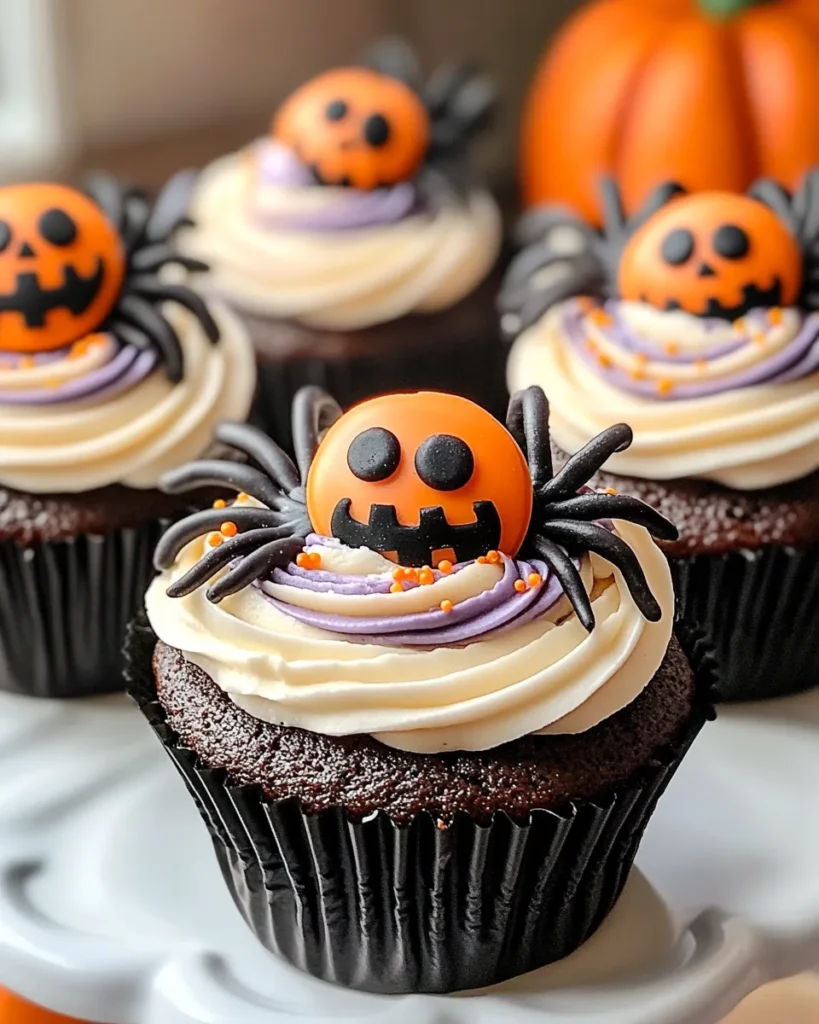
This recipe is built for creativity. The base is a rich, chocolatey cupcake—moist, flavorful, and sturdy enough to hold all your wild Halloween cupcake decorations. Go classic with orange frosting and candy corn, or weird and wonderful with gummy worms crawling out of a green graveyard.
Visually Appealing
With just a few tweaks—like food coloring, edible eyes, or piped-on spider webs—you’ll have a tray of spooky cupcake designs worthy of any costume contest. These aren’t just desserts. They’re conversation pieces.
Great for Parties or Family Gatherings
Need Halloween party treats that impress? These travel well, look awesome on a platter, and vanish fast. Plus, they double as a fun family activity if you want to get the kids involved.
Halloween Cupcake Ingredients You’ll Need
Cupcake Batter
- 1 ½ cups all-purpose flour
- ½ cup unsweetened cocoa powder
- 1 cup granulated sugar
- 1 ½ teaspoons baking powder
- 2 large eggs
- ¾ cup whole milk
- ½ cup unsalted butter, melted and cooled
- 1 teaspoon vanilla extract
Frosting
- 2 cups powdered sugar
- ½ cup unsalted butter, softened to room temperature
- 2 tablespoons vanilla extract
- Food coloring: orange, green, purple, and black work best for Halloween-themed cupcakes
Step-by-Step Halloween Cupcake Instructions
1. Preheat Your Oven
Set the oven to 350°F (175°C). Line a muffin tin with cupcake liners. If you’ve got Halloween-themed liners, now’s the time to use them. Bats, ghosts, skeletons—whatever gets you in the mood.
2. Mix Dry Ingredients
In a large bowl, whisk together the flour, cocoa powder, sugar, and baking powder. Whisking helps break up clumps and distributes the leavening evenly. This is key for a consistent rise.
3. Mix Wet Ingredients
In another bowl, combine the eggs, milk, melted butter, and vanilla. Make sure the butter isn’t too hot—you don’t want scrambled eggs. Whisk until smooth and combined.
4. Combine Wet and Dry
Pour the wet ingredients into the dry. Use a spatula or wooden spoon to stir gently. Don’t overmix—you’re not making bread here. Mix just until you don’t see any more flour. Overmixing leads to tough cupcakes.
5. Fill and Bake
Spoon the batter into your liners, filling each about two-thirds full. That gives them room to rise without spilling over. Bake for 18 to 20 minutes. You’ll know they’re done when a toothpick inserted in the center comes out clean.
6. Cool Completely
Let the cupcakes cool in the tin for about 10 minutes, then transfer them to a wire rack. Do not skip this. Frosting a warm cupcake is a fast track to sad, sliding icing.
7. Make the Frosting
Beat the softened butter until fluffy—about 2 minutes. Slowly add the powdered sugar and beat until combined. Add vanilla. Separate the frosting into bowls and tint each one with a different Halloween color. Start with a few drops and build up. Mix until smooth.
8. Decorate Like a Pro
Now the fun begins. Use piping bags (or plastic sandwich bags with the corner snipped off) to swirl on your frosting. Top with:
- Candy eyeballs
- Gummy worms
- Chocolate chips for eyes
- Mini marshmallows for ghosts
- Cookie “tombstones”
- Colored sugar or edible glitter
Don’t overcrowd your designs. Let the colors and textures shine.
Extra Tips and Variations for Spooky Cupcake Designs
Add Fall Flavors
Want a fall twist? Replace half the butter with ½ cup pumpkin purée and add ½ teaspoon cinnamon. Now you’ve got chocolate-pumpkin cupcakes with warm spice. Perfect for cooler weather.
Make It Gluten-Free
Use a 1:1 gluten-free flour blend. Just make sure it includes xanthan gum or add a pinch yourself to maintain structure.
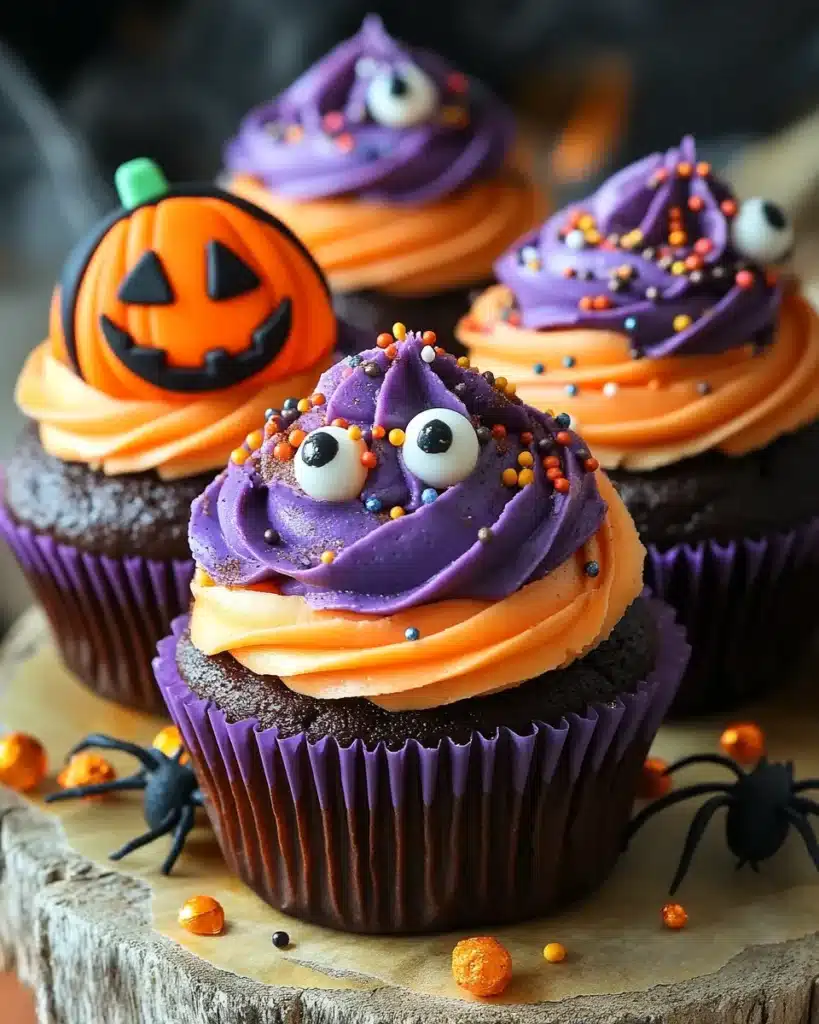
Creative Decorations
Here’s where spooky cupcake ideas really shine:
- “Monster mouths” with piped-on teeth and jelly bean tongues
- Mummy faces wrapped with white frosting and topped with eyes
- Black cats with licorice whiskers
- Webs piped with white icing on dark frosting
And don’t forget Halloween cupcake toppers—they make everything pop with minimal effort.
Storage and Reheating
How to Store
Store frosted cupcakes in an airtight container at room temperature for up to 3 days. If it’s warm in your kitchen, you can refrigerate them, but bring them back to room temp before serving.
Reheating (If You Must)
These are best at room temp, but if you want a warm bite, microwave one cupcake for about 10 seconds. Be cautious—frosting melts fast.
Chef’s Tips
Measure Everything
Baking is all about precision. Scoop and level your flour. Use measuring spoons for baking powder. Guessing leads to flat cupcakes.
Soft Butter, Not Melted
For the frosting, softened butter gives you that smooth, pipeable texture. Too cold? It won’t whip. Too melted? It’ll split.
Don’t Rush the Cooling
I get it—you’re excited to decorate. But resist. If your cupcakes are warm, the frosting will melt and your decorations will slide off. Let them cool completely.
Use a Piping Tip for Clean Designs
Even a basic star tip will give your frosting some flair. Don’t have one? Snip the corner off a zip bag. Works in a pinch.
More Halloween Recipes to Try
If you’re loving the spooky vibe and want to keep the Halloween feast going, check out these other recipes from my kitchen that are perfect for parties, movie nights, or trick-or-treat night bites:
- Looking for something savory? These spooky Halloween snacks for parties are a fun, crispy treat everyone will grab.
- Serve up a main course with these festive Halloween monster sliders recipe. They’re juicy, cheesy, and just the right amount of creepy.
- Want something with a little crunch? These creatively creepy breadstick bones for Halloween are both clever and delicious.
- Meatball lover? Don’t miss these fun Halloween-themed mummy meatballs wrapped in pastry like little edible mummies.
- Need a side dish with wow-factor? Try these easy Halloween side ideas like skull potatoes—they’re spooky and satisfying.
These dishes pair perfectly with your cupcakes to create a full Halloween menu that’s both freaky and festive.
FAQs About Halloween Cupcakes Ideas
What are Halloween cupcake ideas?
These are creative ways to make cupcakes look spooky, fun, or festive using themed decorations like ghosts, monsters, pumpkins, and candy accents
How do you decorate Halloween cupcakes?
Use colored frosting, candy, piping bags, and toppers. Try mummy faces, spider webs, or monster mouths. Let your imagination (and sweet tooth) run wild.
What flavors are best for Halloween cupcakes?
Chocolate and pumpkin spice are classics, but red velvet, caramel, or even black cocoa add dramatic flair.
Can I make Halloween cupcakes ahead of time?
Yes. Bake the cupcakes a day or two in advance and store them in an airtight container. Frost and decorate the day of your event for the best look.
Halloween isn’t just about costumes and candy—it’s about creativity. These Halloween cupcakes for kids and grownups alike are a perfect way to get festive in the kitchen. They’re easy to make, endlessly customizable, and straight-up fun. Whether you’re throwing a party or just want a rainy-day baking project, these cupcakes deliver both flavor and flair.
So roll up your sleeves, grab those sprinkles, and let your spooky side shine. And if you’re looking for even more inspiration, check out my collection of Halloween dessert recipes and decorating ideas on Pinterest.
This is the cupcake I want to eat. And I think once you try it, you’ll want another.
Halloween Cupcakes Ideas: Spooky, Sweet, and Seriously Fun to Make
These Halloween cupcakes are spooky, sweet, and ridiculously fun to make. Perfect for parties, kids, or anyone who loves festive baking with flair.
- Prep Time: 20 minutes
- Cook Time: 20 minutes
- Total Time: 40 minutes
- Yield: 12 cupcakes 1x
- Category: Dessert
- Method: Baking
- Cuisine: American
Ingredients
- 1 ½ cups all-purpose flour
- ½ cup unsweetened cocoa powder
- 1 cup granulated sugar
- 1 ½ teaspoons baking powder
- 2 large eggs
- ¾ cup whole milk
- ½ cup unsalted butter, melted and cooled
- 1 teaspoon vanilla extract
- 2 cups powdered sugar
- ½ cup unsalted butter, softened to room temperature
- 2 tablespoons vanilla extract
- Food coloring: orange, green, purple, black
Instructions
- Preheat oven to 350°F (175°C). Line a muffin tin with cupcake liners.
- In a large bowl, whisk together flour, cocoa powder, sugar, and baking powder.
- In another bowl, whisk eggs, milk, melted butter, and vanilla until smooth.
- Combine wet and dry ingredients, mixing just until no flour remains.
- Fill liners 2/3 full and bake for 18–20 minutes, until a toothpick comes out clean.
- Cool in tin 10 minutes, then transfer to wire rack to cool completely.
- Beat softened butter until fluffy, gradually add powdered sugar, and beat until smooth. Add vanilla and divide into bowls to color.
- Decorate with piping bags using spooky colors and candy decorations like eyeballs, worms, mini marshmallows, or cookie tombstones.
Notes
Add pumpkin purée and cinnamon for a fall twist, or use a gluten-free flour blend with xanthan gum. Store in airtight container for up to 3 days. Let cool fully before frosting for best results.
Nutrition
- Serving Size: 1 cupcake
- Calories: 280
- Sugar: 26g
- Sodium: 150mg
- Fat: 14g
- Saturated Fat: 9g
- Unsaturated Fat: 4g
- Trans Fat: 0g
- Carbohydrates: 36g
- Fiber: 1g
- Protein: 3g
- Cholesterol: 45mg
Keywords: Halloween cupcakes, spooky cupcakes, Halloween dessert, kids treats