
Gipfeli Recipe: How to Make Switzerland’s Beloved Croissant Cousin
Introduction
Learning Gipfeli in Zurich: A Personal Story
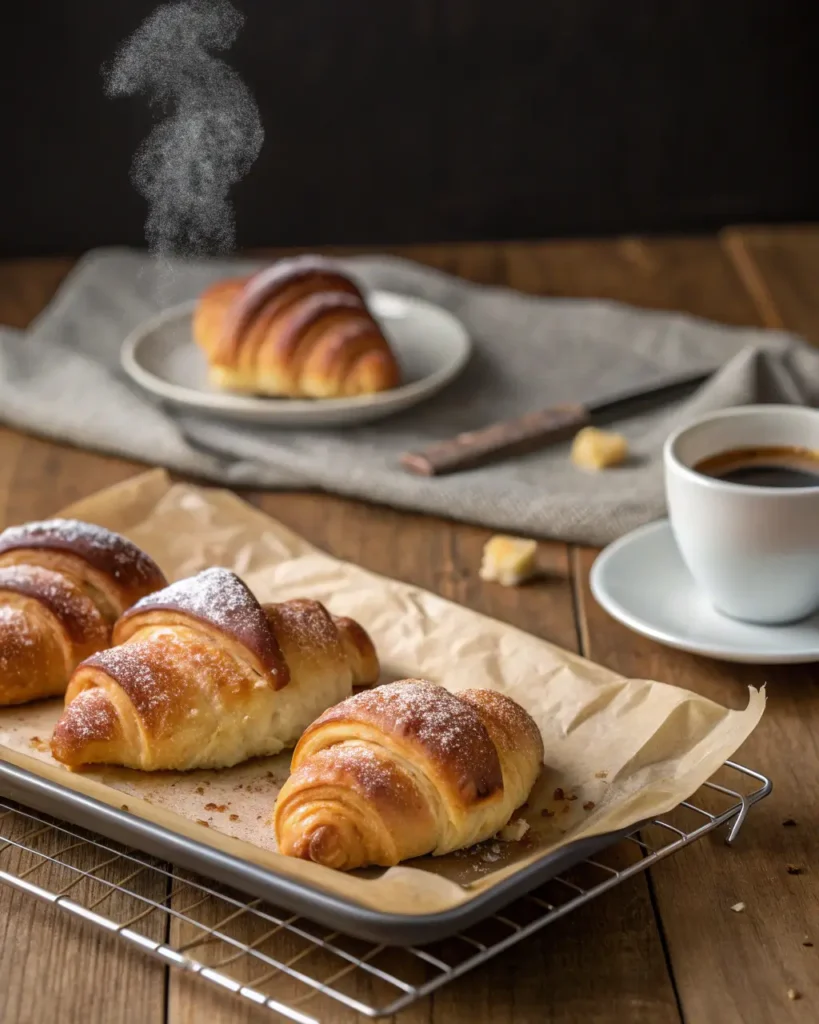
When I first landed in Zurich, all wide-eyed and jet-lagged, I stumbled into a café and ordered what I thought was a croissant. One bite in, and whoa — buttery, tender, but just a little denser than the flaky French versions I knew. Welcome to the world of Gipfeli. I had to learn how to make them. I basically begged a local baker for tips — and after a lot of trial, error, and butter everywhere, here’s the gipfeli recipe I swear by.
Gipfeli vs. Croissants: What’s the Deal?
Think of gipfeli as the chill cousin of the croissant. Less dramatic layers, softer bite, a little less rich — but every bit as craveable. Croissants are about show-stopping flakes. Gipfeli? Comfort and heart.
Why You’ll Love This Recipe
- It’s forgiving — you don’t need Michelin-star lamination skills.
- Perfect balance between airy and substantial.
- Swiss-level butter flavor (yeah, it’s that good).
Table of Contents
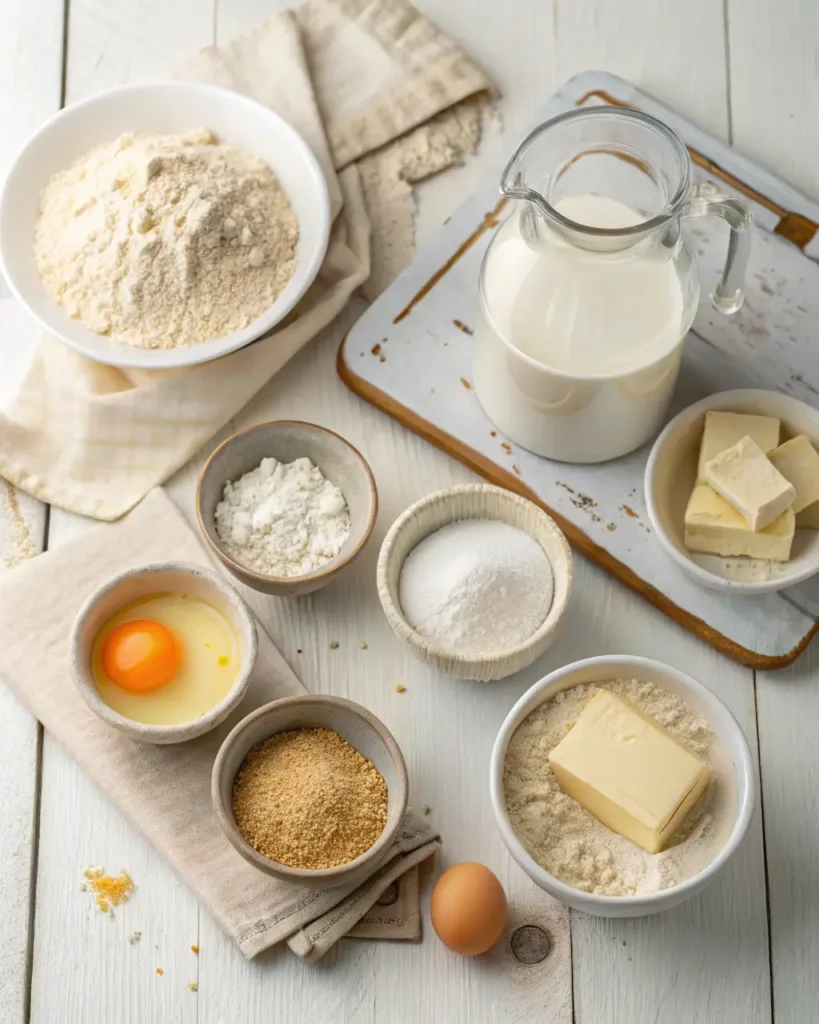
Ingredients
For the Dough
- 500g high-protein bread flour
- 10g fresh active yeast
- 250ml cold milk
- 10g fine sea salt
- 50g granulated sugar
- 250g European-style butter (plus extra for lamination)
- 1 egg (for egg wash)
- 30ml water
For Lamination
- 250g high-quality European butter (cold and block-shaped)
- Extra bread flour (for rolling)
For Finishing
- 1 egg (for egg wash)
- Pinch of salt
- Water (for misting)
Why These Ingredients Are Important
- Butter: European-style has higher fat, lower water content — crucial for tender layers.
- Bread Flour: Gives the dough strength for those nice, chewy layers.
- Fresh Yeast: Gentler rise, deeper flavor — that’s the secret to authentic gipfeli.
Instructions
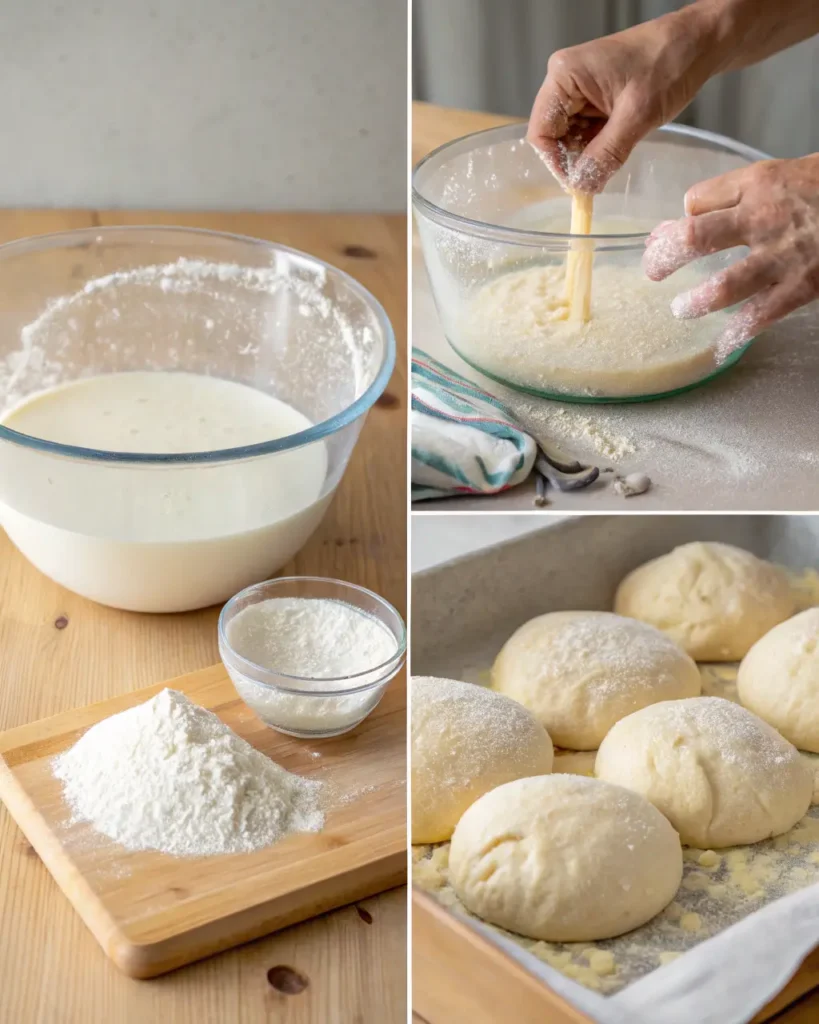
Preparing the Dough Base
- Activate the yeast (gently)
Pour cold milk into a bowl and dissolve the fresh yeast completely.
(Cold milk slows down fermentation, giving you better flavor development and preventing the dough from puffing up too fast while you’re working. Slow rise = tastier gipfeli.) - Mix dry ingredients
In a large mixing bowl, whisk together the bread flour, fine sea salt, and sugar.
(Mixing first ensures the salt and sugar distribute evenly — direct contact with yeast can slow yeast growth, so we keep things organized.) - Combine and knead
Pour the yeast-milk mixture into the flour. Mix with your hands or a dough hook until it forms a shaggy dough, then knead for 8–10 minutes until smooth and elastic.
(Smooth dough = gluten developed = structure. This is what helps the layers hold up later during lamination.) - Rest and chill the dough
Form the dough into a disk, wrap it tightly, and refrigerate for at least 30 minutes.
(Chilling relaxes the gluten and makes rolling much easier. Skipping this step makes your life harder — trust me.)
Creating Layers (Lamination Process)
- Roll dough to a rectangle
On a lightly floured surface, roll the chilled dough into a rectangle about 1 cm thick.
(Even thickness is key — thin edges won’t hold butter properly.) - Prepare and place the butter
Use cold, pliable European butter — about the same consistency as the dough. Place it in the center of the dough.
(Butter too cold? It breaks. Too soft? It oozes. Same consistency as dough? Perfect layers.) - Wrap and seal
Fold the dough around the butter like an envelope. Seal all edges tightly to trap the butter.
(No air gaps — this prevents butter from escaping during rolling.) - Roll and fold
Gently roll into a long rectangle. Perform your first “letter fold” by folding the bottom third up, then the top third down.
(This is the classic “triple fold,” which builds layers.) - Chill and repeat
Wrap the dough and refrigerate for 30 minutes.
Repeat the rolling and folding process two more times, chilling between each.
(Most mistakes happen here — rushing leads to butter smears and ruined layers. Cold dough = clean folds and beautiful layers later.)
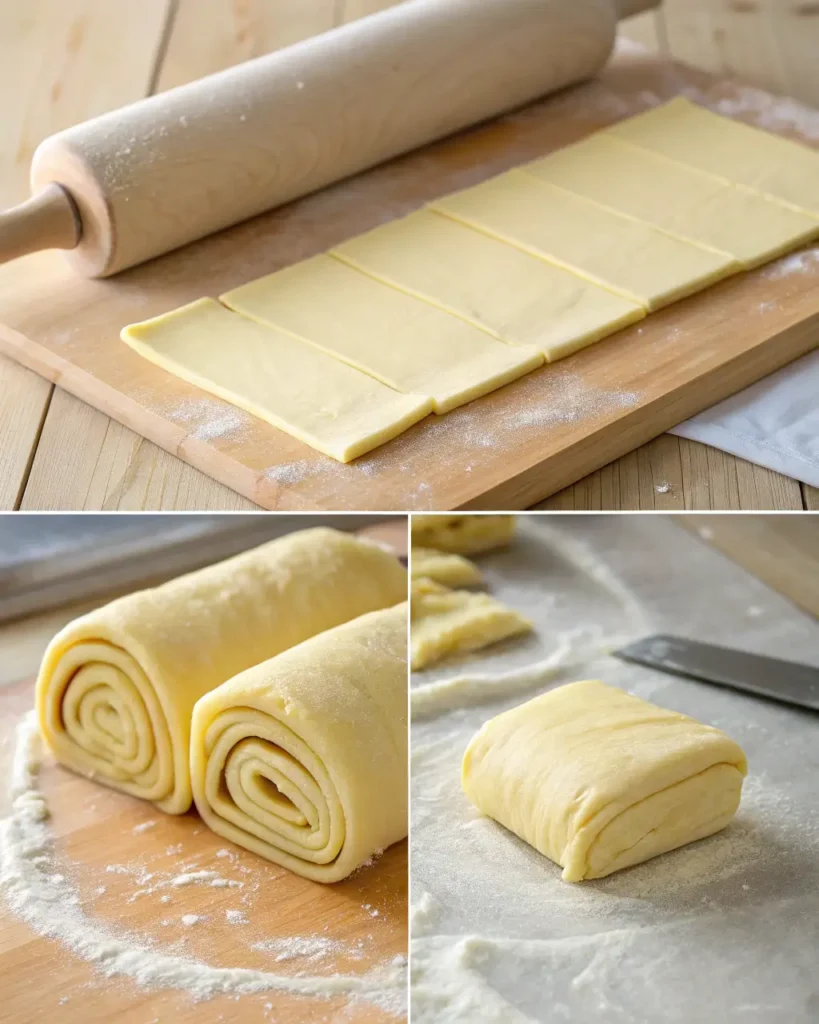
Shaping
- Final roll-out
Roll your laminated dough to about 4mm thickness.
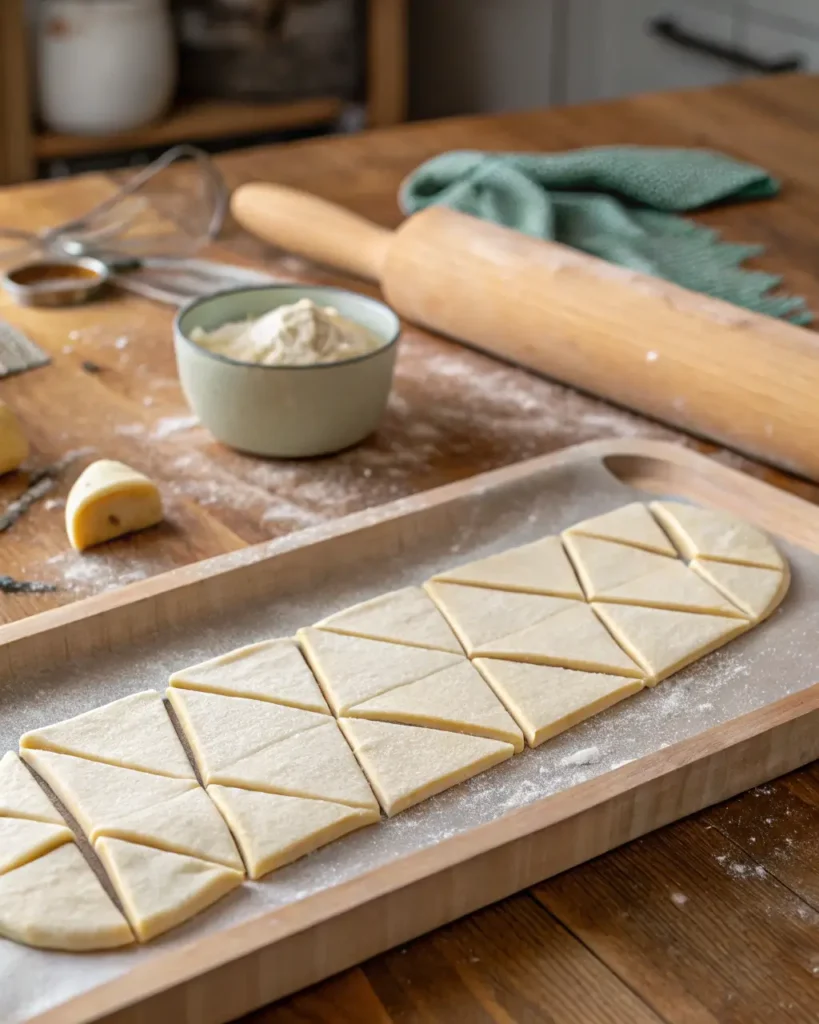
(Not too thin, not too thick — thin gives you elegance, thick gives you puff.) - Cut triangles
Using a sharp knife or pizza wheel, cut the dough into long triangles with an 8cm wide base.
(Uniform sizes = uniform baking.) - Shape the gipfeli
Gently stretch each triangle a little. Starting from the wide end, roll tightly toward the tip to form a crescent shape.
(A tight roll ensures they hold their shape and don’t unravel during proofing or baking.) - Place on baking sheet
Arrange on parchment-lined baking sheets, with enough space to allow for proofing and puffing up.
Final Steps (Proofing and Baking)
- Proof until puffy
Let the shaped gipfeli proof at room temperature for 1 to 1.5 hours. They should look puffed but not doubled in size.
(Over-proofing can lead to collapse — you want them airy, not bloated.) - Egg wash + mist
Mix an egg with a pinch of salt. Brush the gipfeli gently for shine. Lightly mist with water to help with oven spring.
(The mist creates steam in the oven — steam = better rise + golden crust.) - Bake
Bake at 200°C (400°F) for 15–18 minutes until deeply golden brown and crisp on the outside.
(Color equals flavor — pull them too early and you lose that toasted butter taste.)
Pro Tip
Keep the dough cold during lamination.
If at any point the butter starts peeking through or the dough feels soft and sticky, stop. Wrap it up and chill for 10–15 minutes.
(Warm butter will merge into the dough and kill your layers. Stay cool — literally.)
Substitutions
- Butter: No margarine. Ever. If you can’t find European butter, choose the highest fat unsalted butter you can.
- Flour: You can swap bread flour with all-purpose, but expect a softer, less structured gipfeli.
- Yeast: If using instant yeast, cut the amount to 7g.
Avoid: low-fat butters, warm milk, or rushing the resting periods.
Variations
Classic Twists
- Plain: Simple, pure butter magic.
- Whole Wheat: Use 50% whole wheat flour for a nutty version.
- Mini Gipfeli: Make bite-sized by cutting smaller triangles.
- Salted Butter: Adds a savory edge.
Sweet
- Chocolate-Filled: Add a small piece of dark chocolate before rolling.
- Almond Paste: Spread a thin layer inside before shaping.
- Vanilla Sugar Dusting: Finish baked gipfeli with a light sprinkle.
- Jam-Filled: Tiny spoonful inside the dough before rolling.
Savory
- Ham & Cheese: Wrap slices before rolling.
- Seeds & Grains: Sprinkle flax, sesame, or poppy before baking.
- Herb-Infused: Add finely chopped rosemary into the butter.
- Swiss Cheese: Gruyère or Emmentaler stuffed inside — yes, please.
Essential Equipment
- Large mixing bowl
- French-style rolling pin
- Sharp knife or pastry cutter
- Baking sheets
- Pastry brush
- Kitchen scale (non-negotiable for precision)
- Optional but helpful
- Bench scraper
- Spray bottle (for misting)
- Pizza wheel
- Pastry mat
Storage
Fresh Storage
- Best eaten the day they’re baked.
- Store loosely covered at room temp for up to 2 days.
Make-Ahead Options
- Shaped (unbaked): Freeze on a tray, then bag up to 1 month. Thaw and proof before baking.
- Par-baked: Bake halfway, freeze, finish baking later. Lasts 3 months.
- Fully baked: Freeze for up to 2 months. Reheat properly (oven only).
Reheating
- Lightly mist with water.
- Warm in a 180°C (350°F) oven for 5–7 minutes.
- Avoid microwaves — they turn them rubbery and sad.
A Zurich Café’s Secret
Some bakers sneak tiny herb leaves (think thyme or sage) into the first fold of lamination. It’s subtle but gives a gentle, aromatic twist that’s pure Zurich magic.
Before You Start
Take a deep breath. Keep the dough cool, work methodically, and trust your hands. Pair your fresh gipfeli with a strong espresso or — if you’re going all Swiss — a side of protein oats and a slice of pound cake.
Nutritional Information for Gipfeli
Before you dive headfirst into your buttery creation (and trust me, you will), here’s what you should know about what’s inside each gipfeli. These aren’t diet food — they’re comfort food — but understanding the nutrition helps you enjoy them mindfully.
| Nutrient | Amount per Gipfeli |
| Calories | 320 kcal |
| Total Fat | 20 g |
| Saturated Fat | 12 g |
| Cholesterol | 75 mg |
| Sodium | 320 mg |
| Total Carbohydrates | 28 g |
| Dietary Fiber | 1 g |
| Sugars | 4 g |
| Protein | 6 g |
Note: Values are approximate and based on plain gipfeli without fillings. Add-ins will increase calories and fat.
FAQs
What’s the difference between croissant and gipfeli?
Croissants are ultra-flaky and airy, thanks to more butter and slightly different techniques. Gipfeli are softer, chewier, and a little less buttery — but still incredibly delicious.
What is a mandelgipfel?
Mandelgipfel is a sweet variation filled with almond paste — think of it as the almond croissant’s Swiss cousin.
Can I use margarine instead of butter?
Nope. Real butter or bust. Margarine messes up the flavor and structure big time.
Conclusion + Call to Action
Mastering this gipfeli recipe is like bringing a little piece of Zurich into your kitchen. Once you get that first batch right — golden, tender, buttery — you’ll wonder how you ever lived without them.
Get in there, get your hands buttery, and when you do nail it? Share your bake — I’d love to see it.
(And hey, if you want more real-deal recipes like this, stick around — there’s more where that came from.)