Amazing Halloween Rice Krispies Treats for Spooky Fun
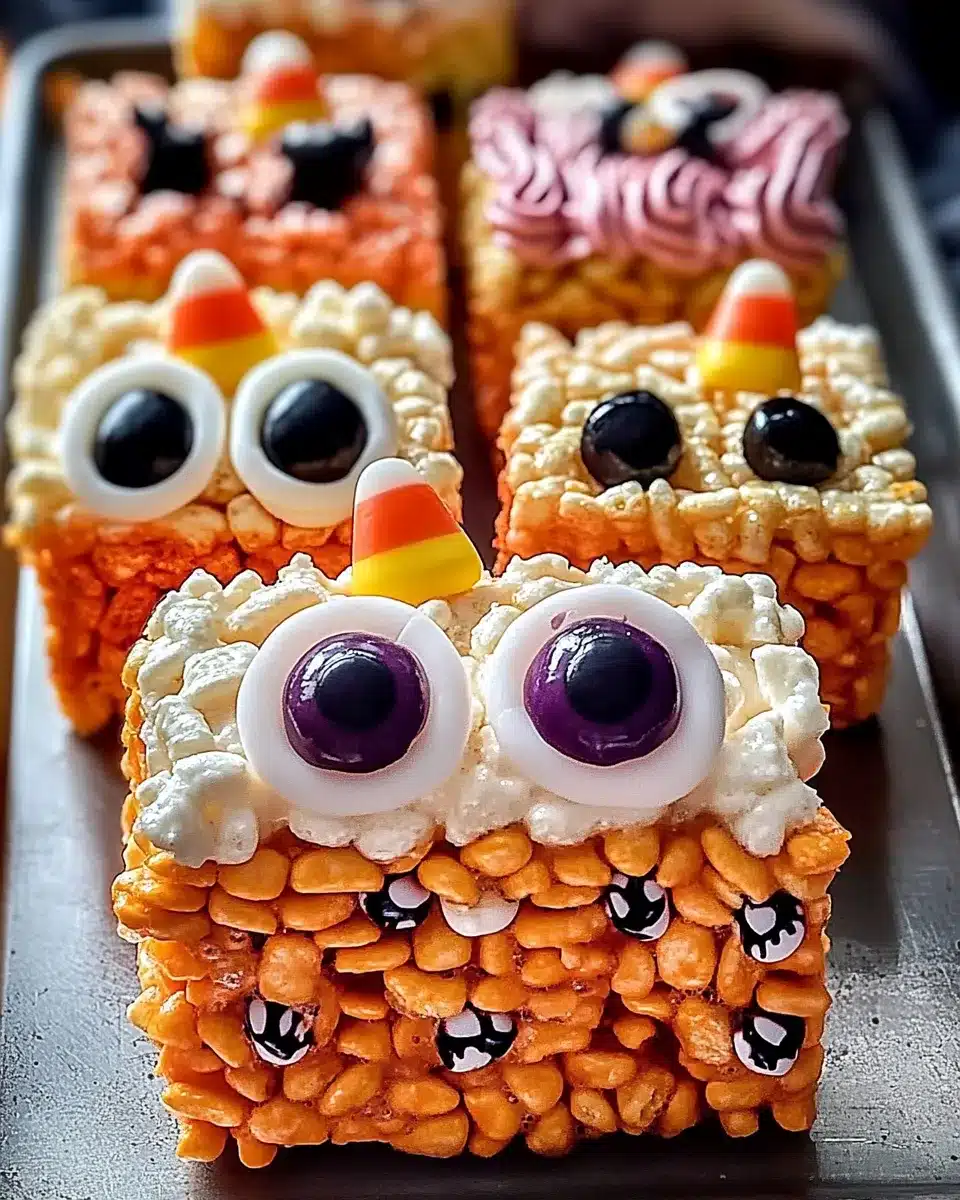
There’s something about Halloween that takes me straight back to sticky fingers and sugar highs. When I was a kid, my mom didn’t just toss candy in a bowl—she made stuff. Orange Halloween Rice Krispies Treats covered in eyeball sprinkles? That was her jam. And let me tell you: they’re still the first thing I make when October hits.
This is your go-to recipe for festive Rice Krispies treats that look spooky, taste awesome, and come together in one pot. No baking, no stress—just melt, mix, and make some Halloween magic.
Why You’ll Love This Rice Krispies Halloween Recipe
- Easy to prepare
It’s all stovetop—no oven, no baking. Kids can help. Cleanup’s a breeze. - Customizable ingredients
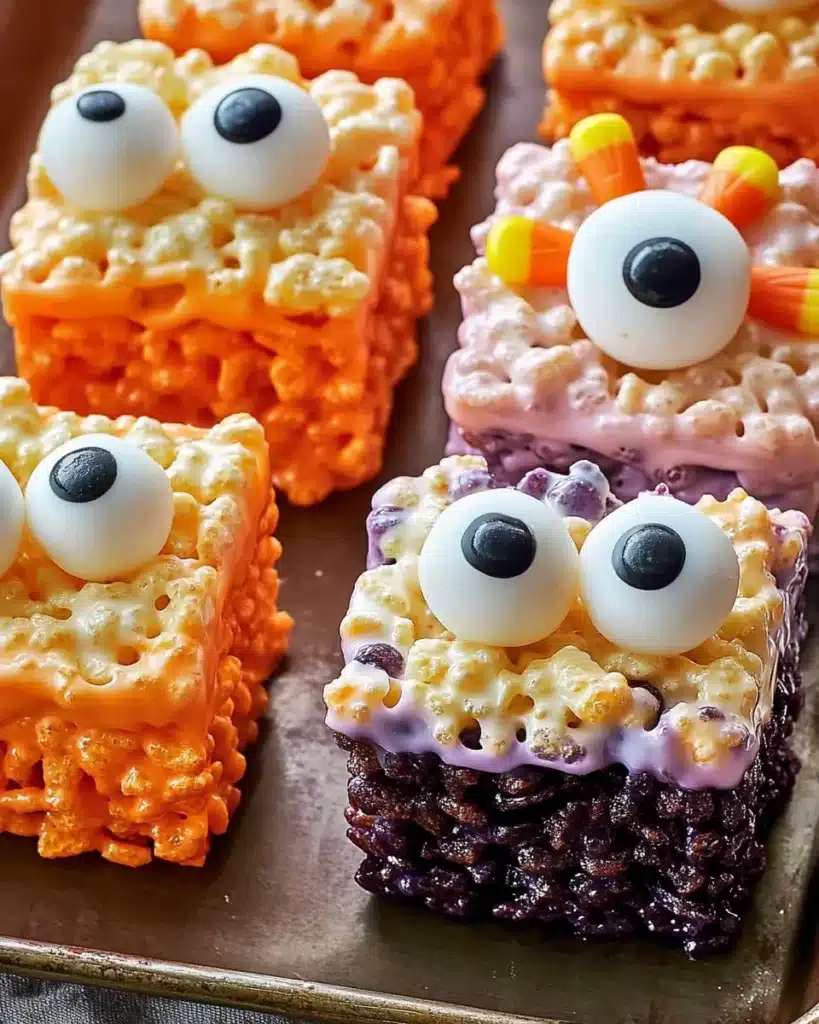
Want candy corn in there? Do it. Chocolate chips? Even better. This recipe’s a blank canvas. - Visually appealing with vibrant colors
Bright orange with black and purple sprinkles = instant Halloween vibe. - Great for parties and kid-friendly Halloween recipes
These are made to show off. Stack ’em on a tray and watch them disappear.
Table of Contents
Ingredients for These Festive Rice Krispies Treats
| Ingredient | Quantity | Notes |
| Rice Krispies cereal | 6 cups | Use the real deal for best texture |
| Mini marshmallows | 10 oz | Fresh = gooey. Don’t use the stale bag from last year. |
| Unsalted butter | 4 tbsp | Adds flavor and helps set the mix |
| Orange gel food coloring | 1 tsp | Bright color without watering down the mix |
| Halloween-themed sprinkles | 1 cup | Use spooky shapes—ghosts, bats, candy eyeballs |
Note: Fresh ingredients really matter here. Soft marshmallows melt better. Old cereal? Toss it—it won’t give you that classic snap.
How to Make These Halloween Marshmallow Treats – Step-by-Step
1. Melt Butter & Marshmallows
Grab a big pot—seriously, give yourself room. Melt the butter on low heat, then add your marshmallows.
Stir constantly with a silicone spatula. Don’t walk away.
“This part’s key—low and slow. Don’t blast the heat or you’ll burn the sugar and get weird crispy chunks. You want smooth and gooey, not caramelized chaos.”
2. Add Food Coloring
Once the marshmallows are fully melted and smooth, stir in your orange gel food coloring.
Start small—you can always add more.
“Most people mess this up by dumping half the bottle. A little gel goes a long way. You want a bright orange, not nuclear waste.”
3. Combine with Cereal
Kill the heat. Add your Rice Krispies cereal and fold it in gently.
Not stir—fold. You want every puff coated, but not crushed.
“If you stir too hard, you’ll mash it into Rice Krispies mush. Fold like you’re tossing a salad made of sugar.”
4. Press into Pan
Line a 9×13-inch baking pan with parchment paper or grease it well. Pour the mixture in, and press it down evenly.
Use buttered hands, a spatula, or a piece of wax paper to get it smooth and flat.
“This is where most folks go wrong. If you don’t press it firmly enough, your treats will fall apart. But don’t go Hulk mode—just firm and even pressure.”
5. Add Sprinkles
While the mixture’s still warm (but not lava-hot), toss on your Halloween sprinkles. Gently press them in so they stick.
“Timing is everything. If it cools too much, the sprinkles just roll off. Warm = sticky = success.”
6. Cool & Cut
Let the whole thing cool at room temp for at least an hour. For cleaner cuts, chill it in the fridge for 10 minutes first.
Then slice into squares—or bust out cookie cutters for ghosts, pumpkins, whatever’s in the Halloween drawer.
“And don’t saw at it. Sharp knife, straight down. Treat it like a steak.”
Customization Tips for Halloween Treats for Kids
Want to make these Halloween marshmallow treats your own? Here’s how:
- Swap in colored marshmallows – Purple, green, or chocolate for extra spooky vibes.
- Add mix-ins:
- Candy corn
- Mini chocolate chips
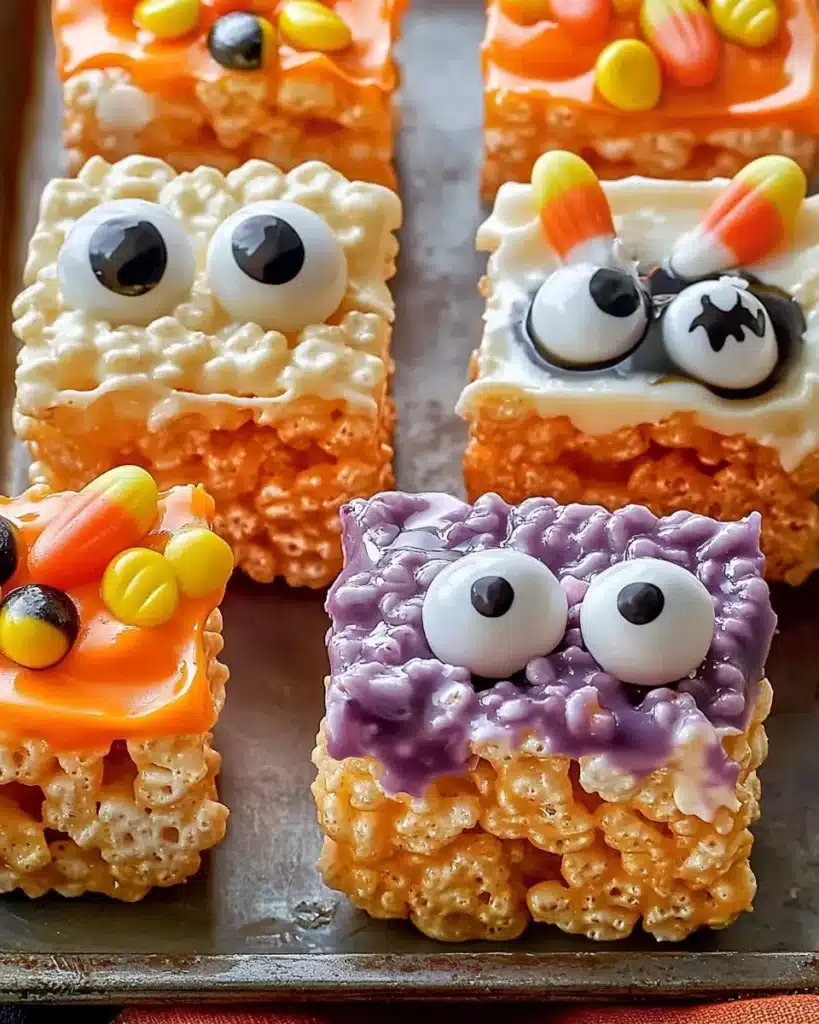
- M&M’s (Halloween-colored)
- Crushed Oreos
- Candy corn
- Flavor twists:
- Add ½ tsp vanilla or almond extract
- Try orange or pumpkin spice extract
- Add ½ tsp vanilla or almond extract
- Shape into Halloween figures:
- Ghosts, pumpkins, bats using cookie cutters
- Draw faces with melted chocolate or icing pens
- Ghosts, pumpkins, bats using cookie cutters
Storage & Reheating Tips for Halloween Dessert Ideas
- Room temperature: Store in an airtight container for up to 1 week.
- Microwave: Want that soft, gooey bite again? 5–10 seconds does the trick.
- Freezing: Wrap in plastic and foil; freeze up to 2 months. Thaw at room temp.
“Whatever you do, don’t toss these in the fridge. Makes ’em tough and chewy in the wrong way.”
Chef’s Tips
- Use fresh marshmallows – stale = rubbery, not melty.
- Press firmly into the pan – don’t baby it.
- Gel food coloring > liquid – liquid thins out your mix.
- Grease your tools – marshmallow sticks to everything.
- Flavor it up – vanilla, almond, or orange extract takes it next-level.
“And remember—don’t rush. Let it cool before cutting, and don’t forget the sprinkle press. That’s the difference between festive and flop.”
More Spooky Halloween Snack Ideas to Try
If you’re already heating up your Halloween kitchen, why stop at just marshmallow treats? Here are a few more Halloween desserts and snacks from the blog that’ll round out your creepy menu:
- Halloween Monster Sliders – These fun Halloween dinner ideas are a hit with kids and adults. Think meatballs, cheese, and edible eyes all sandwiched into soft buns.
➜ Get the recipe - Breadstick Bones – Spooky and snackable, these twisted breadsticks are perfect for your Halloween party food ideas spread.
➜ Get the recipe - Mummy Meatballs – These creepy-cute mummies are wrapped in crescent dough and baked to golden perfection. Great as Halloween treats for kids or spooky appetizers.
➜ Get the recipe - Skull Potatoes – Want something totally unexpected? These skull-shaped potatoes are the ultimate Halloween snack idea with a savory twist.
➜ Get the recipe
FAQs – Amazing Halloween Rice Krispies Treats for Spooky Fun
What are Halloween Rice Krispies Treats?
They’re a no-bake Halloween dessert made from Rice Krispies, marshmallows, butter, and spooky decorations like food coloring and sprinkles.
How do you make them?
Melt butter and marshmallows, stir in coloring, fold in cereal, press into a pan, top with sprinkles, cool, and cut.
Can they be customized?
Totally. Swap colors, add candies, change the flavor, or use cookie cutters to shape them into ghosts or pumpkins.
How long do they last?
Stored in an airtight container, they last about a week. You can also freeze them for up to two months.
Conclusion
These Amazing Halloween Rice Krispies Treats for Spooky Fun hit every note—they’re colorful, crunchy, sweet, and spooky in all the right ways. They’re one of the easiest Halloween desserts to make and one of the most fun to share.
Whether you’re hosting a party or just want to jazz up snack time, these colorful Halloween rice treats deliver big flavor and even bigger Halloween vibes.
Go make a batch.
Decorate them wild. Cut them into pumpkins. Let the kids help.
And if you love easy, creative Halloween snack ideas, follow along—I’ve got plenty more kid-friendly Halloween recipes coming your way.
Check out more festive treats and ideas on my Pinterest page.
Amazing Halloween Rice Krispies Treats for Spooky Fun
These vibrant Halloween Rice Krispies Treats are easy, festive, and perfect for spooky parties. Made with gooey marshmallows, orange coloring, and fun sprinkles—this no-bake dessert is a kid-friendly favorite.
- Prep Time: 10 minutes
- Cook Time: 10 minutes
- Total Time: 20 minutes
- Yield: 12 treats 1x
- Category: Dessert
- Method: No-Bake
- Cuisine: American
Ingredients
- 6 cups Rice Krispies cereal
- 10 oz mini marshmallows
- 4 tbsp unsalted butter
- 1 tsp orange gel food coloring
- 1 cup Halloween-themed sprinkles (ghosts, bats, candy eyeballs)
Instructions
- Melt the butter in a large pot over low heat, then add marshmallows and stir constantly until smooth and melted.
- Stir in orange gel food coloring a little at a time until desired brightness is reached.
- Turn off the heat and gently fold in the Rice Krispies cereal until evenly coated.
- Transfer the mixture to a greased or parchment-lined 9×13-inch pan and press down firmly and evenly.
- While still warm, sprinkle on Halloween-themed sprinkles and press gently to set.
- Let cool at room temperature for 1 hour. For cleaner cuts, chill in fridge for 10 minutes before slicing.
Notes
Use fresh marshmallows for best meltability. Fold gently to keep cereal airy. Press the mixture firmly but evenly into the pan for cohesive bars. Don’t forget to press sprinkles in while still warm!
Nutrition
- Serving Size: 1 treat
- Calories: 160
- Sugar: 12g
- Sodium: 90mg
- Fat: 4g
- Saturated Fat: 2.5g
- Unsaturated Fat: 1g
- Trans Fat: 0g
- Carbohydrates: 30g
- Fiber: 0g
- Protein: 1g
- Cholesterol: 10mg
Keywords: Halloween, Rice Krispies, no-bake, marshmallow, treats